Today I am going to share the 2 easiest ways to install Dolby Atmos on Android without root. In the first method, we will talk about installing Dolby Atmos apk without root, and in the second method, you need a rooted phone.

There are a lot of things that you can do with a modern smartphone these days. Whether it is playing video games, editing videos, browsing the internet, taking photos and videos, placing video calls, or anything else that you can think of.
But apart from all these advanced features, a smartphone can also perform basic tasks. This includes things like placing phone calls, checking the calendar, and playing music.
Even though many modern smartphones do not come with a headphone jack, you can still enjoy music. This can be done using wireless earphones or headphones. To further make your music listening experience better, smartphones also offer music streaming apps.
With apps like Spotify, YouTube Music, Amazon Music, and others, you can easily listen to any music you like. And the best part about these apps is that you do not have to download music tracks.
You can stream music online using your internet connection. As for the audio quality, such apps offer pretty good audio quality. But, if you want an even better audio quality out of your smartphone, then you should consider installing Dolby Atmos.
In fact, I am here to show you how to install Dolby Atmos on Android with and without root quite easily. You will find all of the details related to Dolby Atmos audio processing. You can easily install it on your device by simply following this article until the end.
Must Read:
Contents
What is Dolby Atmos?
If you watch many movies or TV shows on online platforms or in a cinema hall, you must have heard about Dolby Atmos in the past. This is due to the reason that Dolby is one of the oldest audio processing software out there.

Over time, Dolby has released a lot of different versions of its audio processing software. It includes versions like Dolby Digital, Dolby Surround, and the latest one being the Dolby Atmos.
And because it is the latest offering from Dolby, it offers the best performance and a wide range of features to the user.
Speaking of its features, you get a lot of things by installing Dolby Atmos on Android. The first benefit of Dolby Atmos is that you get support for Dolby Atmos movies and TV shows.
For example, if any movie or TV show has Dolby Atmos surround in it, then your earphones or headphones will be able to playback that surround sound data.
When compared to the standard surround sound technology, Dolby Atmos offers a much more immersive experience. It includes a lot of audio channels that offer excellent audio quality resulting in an excellent immersive experience.
Another benefit of Dolby Atmos is that it also acts like a DSP or equalizer for your Android smartphone. In other words, it can be used to enhance the audio output offered by your mobile device.
Daily, it would help if you played a lot of different things on your Android smartphone. Apart from action-filled movies and TV shows, you might also watch sports or news using online streaming apps.
Not only that, but you most likely also use your smartphone for listening to music. And because all of these applications are so different from each other, your smartphone may not be able to offer the best possible audio quality.
Thankfully, this is where Dolby Atmos can make your audio listening experience much better. It has various audio profiles like voice, movie, songs, speech, and various others included by default.
You can manually switch between these audio profiles as per what you are using your smartphone for. With each profile, you get a completely different audio output from your device. If you have selected the right one, you will get excellent audio detail and quality.
If you do not want to switch audio profiles manually, Dolby Atmos also offers an automated mode. This automatically and intelligently switches between all these profiles for the best audio output.
In fact, it even allows you, the user, to manually adjust an equalizer to create a custom user audio profile. This can be handy to make your earphones or headphones sound exactly how you want them.
And while there are many equalizer apps out there that offer the same functionality, they only work for their custom music player. On the other hand, installing Dolby Atmos allows you to enjoy all of these features on a system-wide basis.
In other words, Dolby Atmos will change the audio output quality and sound signature for all the apps installed on your Android smartphone.
How to Install Dolby Atmos on Android?
Now that you know all of the various features and benefits offered by Dolby Atmos to Android smartphone users, then you are most likely interested in installing the same on your smartphone.
There are only a minimal number of Android smartphones that officially support Dolby Atmos. Thankfully, there are a few workarounds that allow you to install Dolby Atmos if you want.
And the best part about this is that you can install Dolby Atmos on Android whether you have root access or not. If you want to know how to install Dolby Atmos on Android with and without root, go through the following methods one by one:
Method-1: Install Dolby Atmos on Android without Root
Those of you are wishing to install Dolby Atmos without root will be glad to know that it is quite easy to install.
Step-1:
You first have to download Dolby Atmos Apk file on your smartphone.
Step-2:
Once downloaded, use any file explorer app, and open it to install it on your smartphone. Make sure that Unknown Source App installation is enabled on your smartphone from the settings.
Step-3:
After you have installed this app, reboot your smartphone but not open it as of right now.
Step-4:
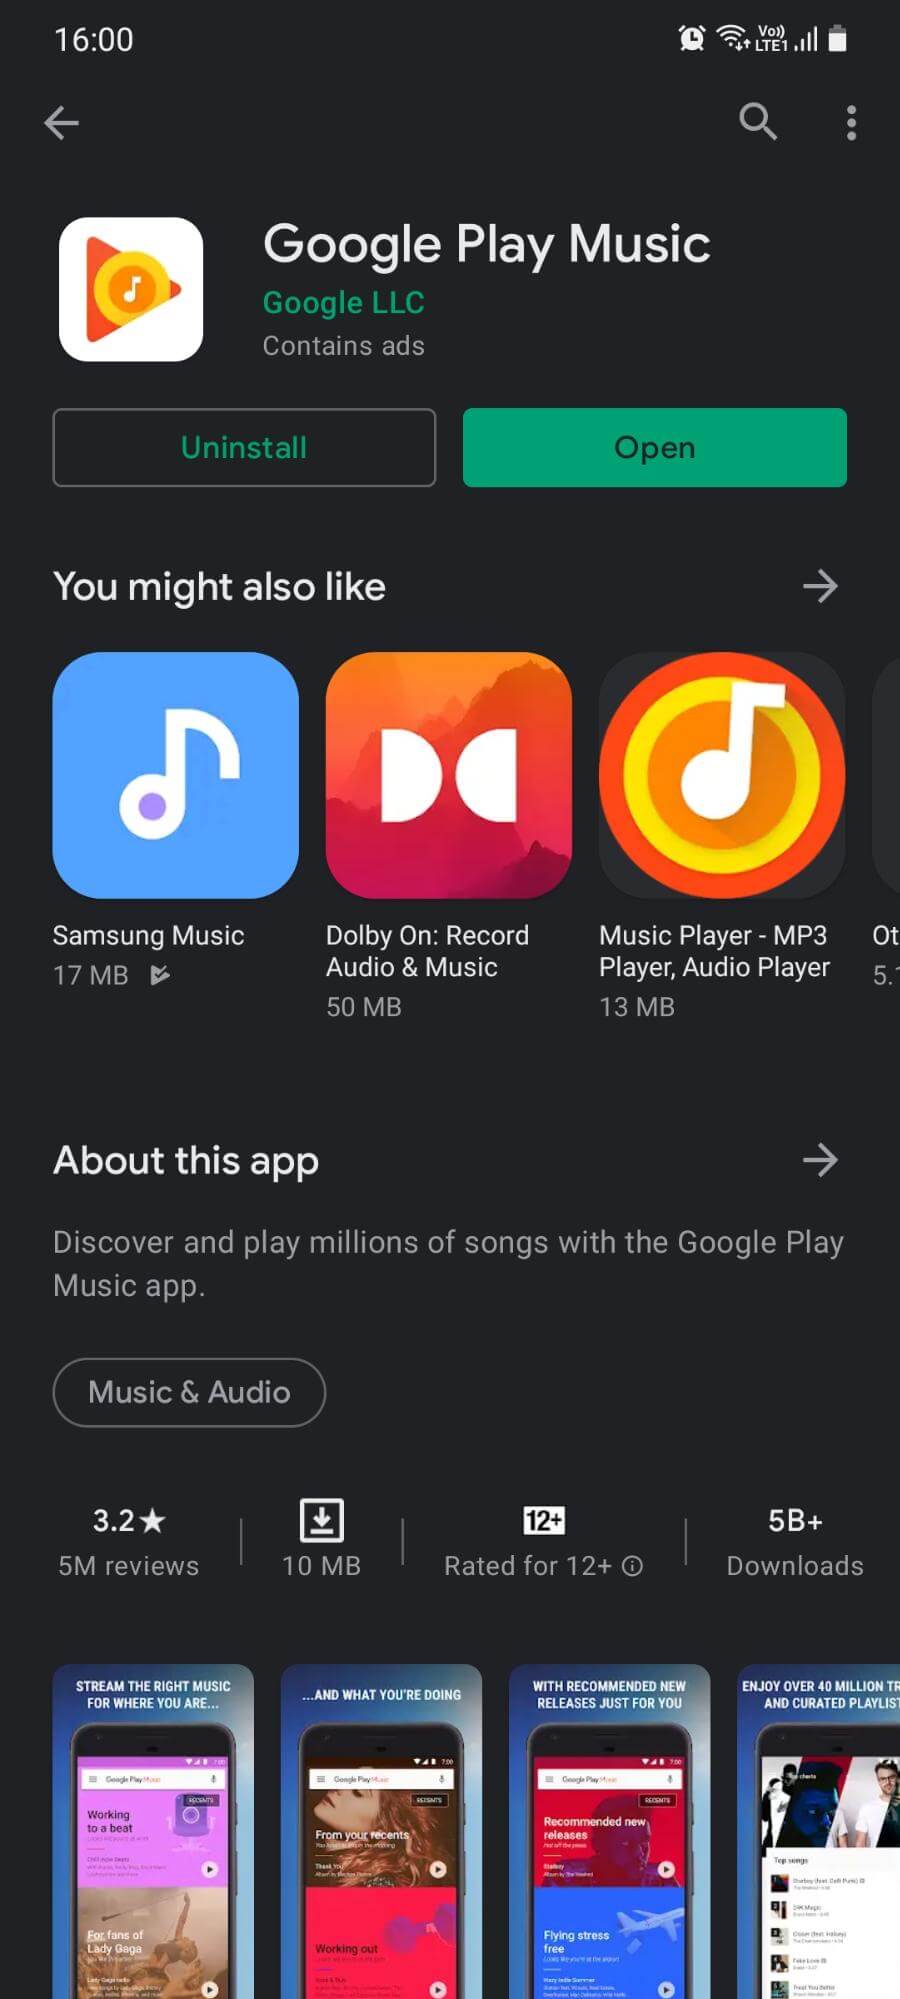
Now, go to the Google Play Store on your Android device and download the Google Play Music app. Since you are installing Dolby Atmos without root, it will unfortunately not work with any other music streaming app like Spotify.
Step-5:
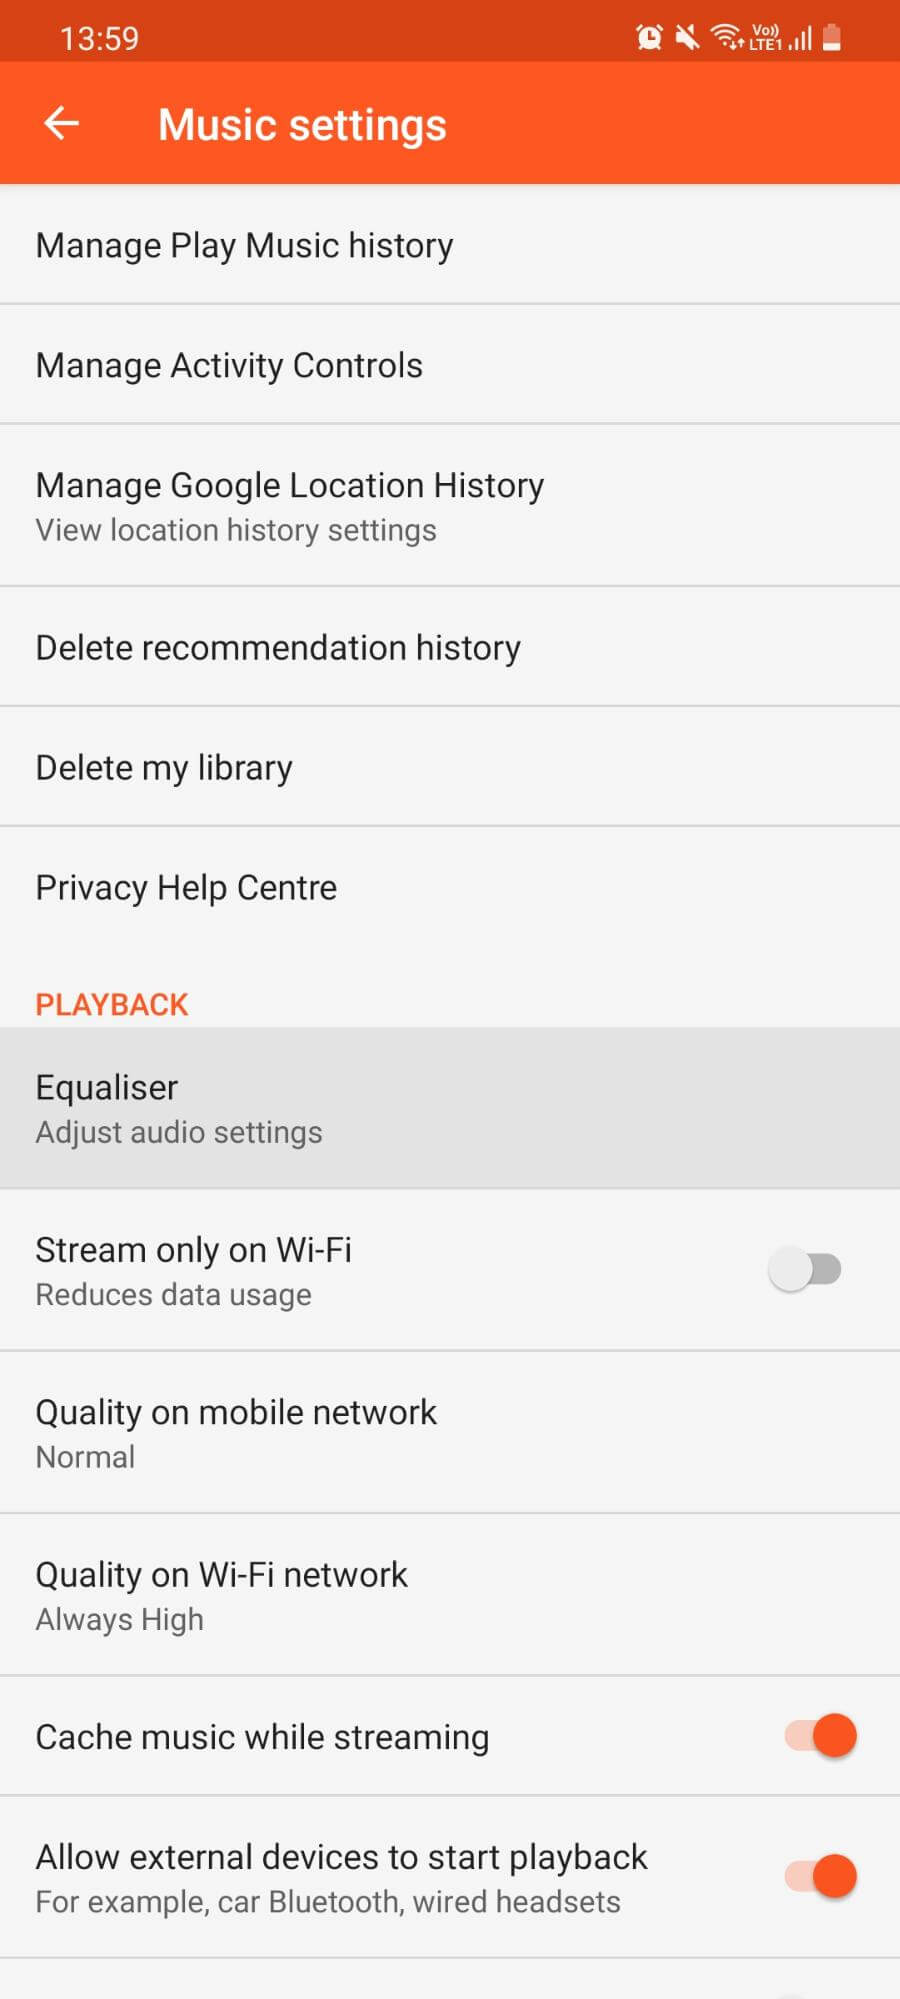
Once Google Play Music has been installed on your device, go to its Settings.
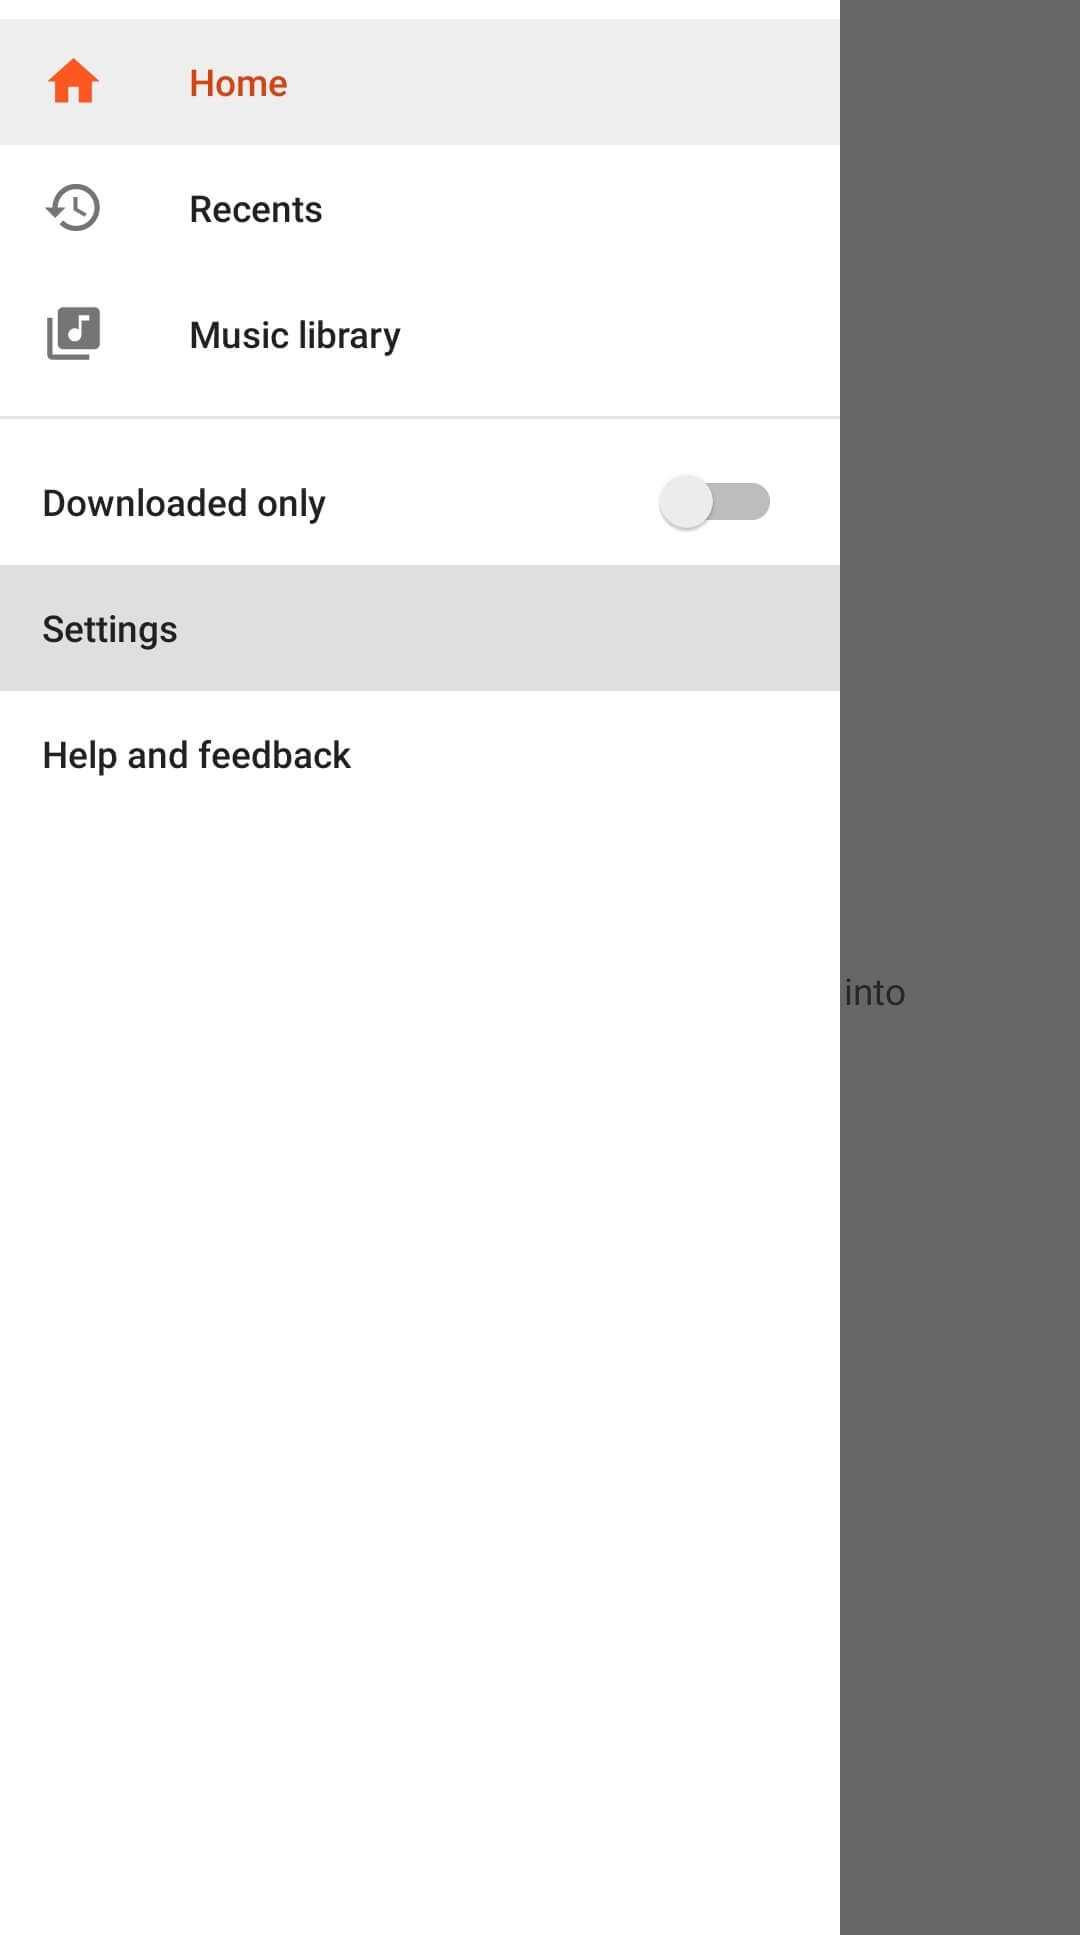
Step-6:
In here, scroll down to the bottom and select the Enable Dolby Atmos option under the Equalizer Settings.
Finally, you can play any music track of your choice within the Google Play Music app and enjoy superb music quality from Dolby Atmos.
Method-2: Install Dolby Atmos on Android with Root
If you want to have the superb audio quality from Dolby Atmos in all apps on your Android device and not just Google Play Music, then you should install it using root.
Step-1:
For this method, you will need to unlock your bootloader, install a custom recovery like TWRP or CWM, and root your Android device.
Step-2:
Once you have made sure that your Android device has all of this, you can download the Dolby Atmos Installer.zip file on your Android device.
Step-3:
After downloading this, turn off your Android smartphone and hold the volume down and the power button. Doing so will take you to the recovery mode on your Android device.
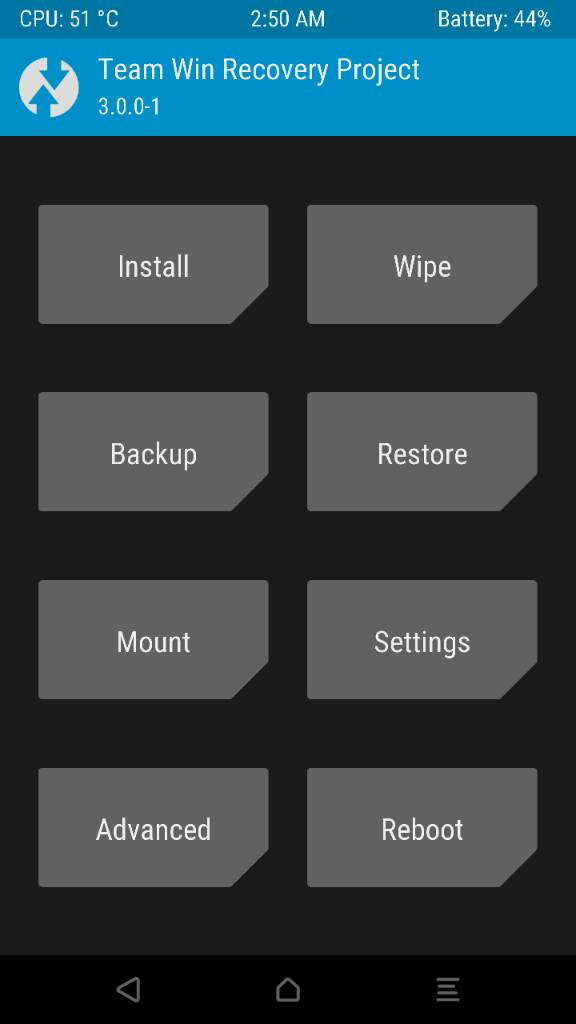
Step-4:
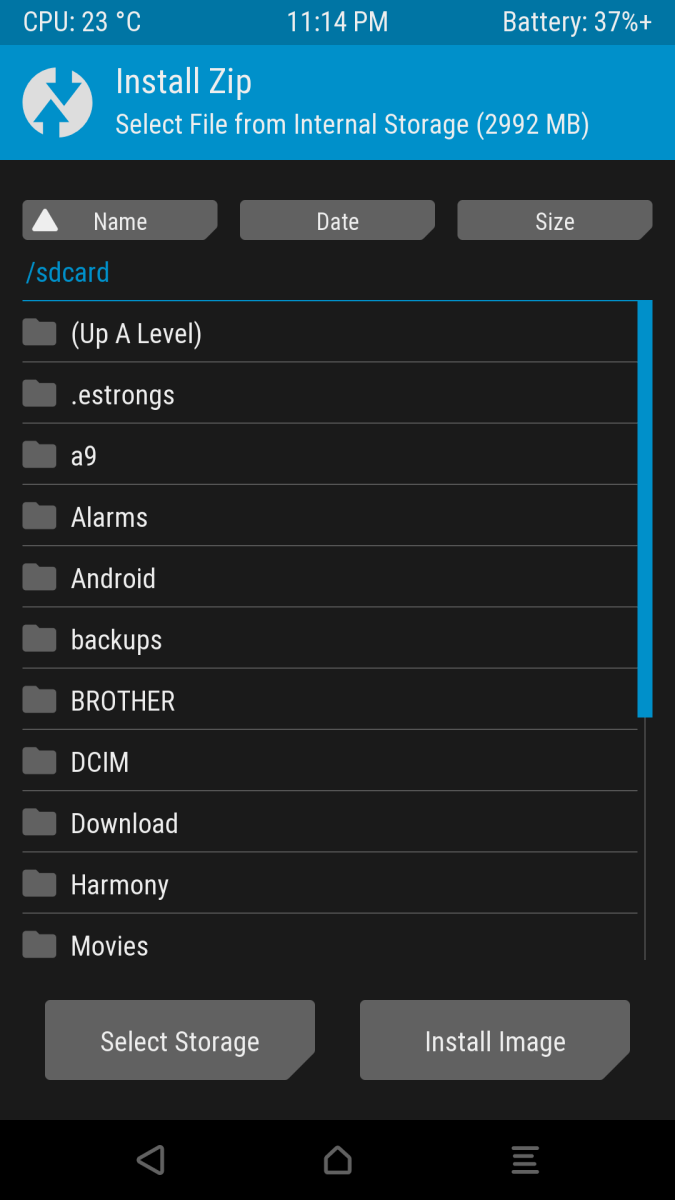
Here, go to the Install menu, which will open a file explorer. Use this file explorer to browse and locate the Dolby Atmos Installer file that we had downloaded earlier.
Step-5:
After finding the file, please open it and swipe the slider to install it.
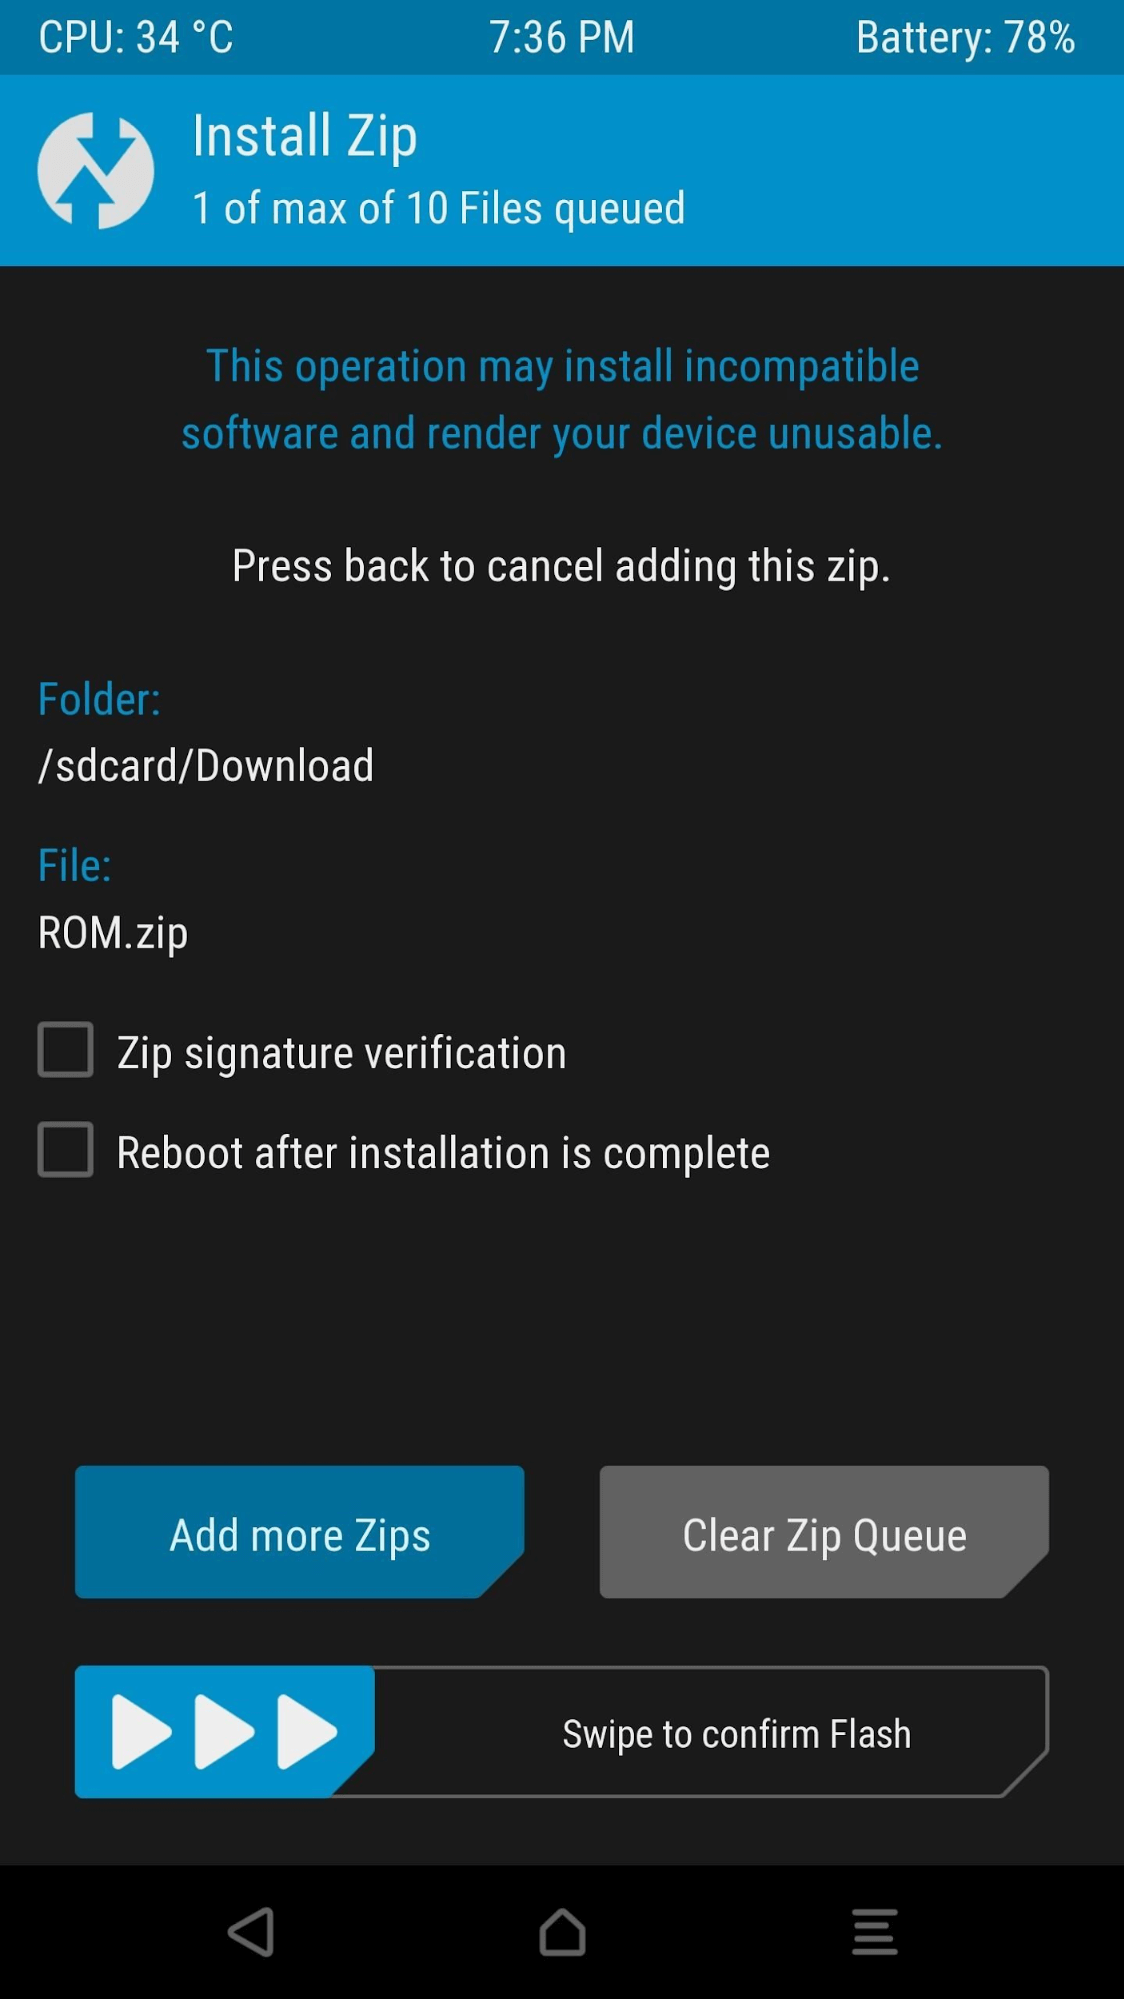
Step-6:
Finally, select the wipe cache and Dalvik cache option and reboot the system. Now, you will be able to use Dolby Atmos on Android with root. This allows you to enjoy the excellent audio quality offered by Dolby Atmos in all of your favorite apps.
Video Guide:
Also Check:
How to Uninstall Dolby Atmos from Android?
After going through the various features and installation guides mentioned above, you must have already installed Dolby Atmos on your Android device.
In fact, you may have already tried playing music and movies with Dolby Atmos-enabled on your smartphone. This app should offer an excellent audio experience, whether your smartphone is rooted or not.
Although, Dolby Atmos is not the only audio processing application available for Android out there. There are also many more options out there like DTS Audio, Viper4Android, THX, and various others.
And those of you who want to try these out will need to uninstall Dolby Atmos from your Android smartphone first. Other than this, if you face any errors with Dolby Atmos or it is not working at all, you may have to reinstall it in that case.
For this, you will have first to uninstall it from your Android device and then install it again using the methods discussed earlier. Thankfully, uninstalling Dolby Atmos from Android is even easier than the installation process.
Those of you who installed Dolby Atmos on Android without root can uninstall the app like any other Android app. You have to open the app drawer on your smartphone, find the Dolby Atmos app, and long tap on it to select Uninstall.
Doing this will successfully uninstall Dolby Atmos from your smartphone. Although, if you installed Dolby Atmos on Android with root, then you have to follow these instructions to uninstall Dolby Atmos from Android:
Step-1
Like the installation of Dolby Atmos with root, you will need to use a ZIP file to uninstall Dolby Atmos from Android. Thus, first, download the Dolby Atmos Uninstaller.zip file on your smartphone.
Step-2
Once it is downloaded, reboot to the custom recovery like TWRP or CWM of your Android device. This can be done by first turning off your smartphone and then holding the volume button and power button together.
Step-3
After you have booted to the recovery mode, go to the Install menu to see the file explorer.
Step-4
Here, browse and locate the Dolby Atmos Uninstaller.zip file downloaded earlier.
Step-5
Then, open this file and swipe the slider to flash this zip file on your smartphone.
Step-6
Now, select the wipe cache and Dalvik cache option and reboot your smartphone to Android.
Finally, Dolby Atmos will be uninstalled successfully from your smartphone, allowing you to try apps like Viper4Android if you want.
Conclusion
Once you have been through this article and the various instructions provided in it, you should install Dolby Atmos on android with or without root successfully. A great thing about this guide is that we have offered two different methods to install Dolby Atmos on Android.
Whether your Android smartphone is rooted or not, you can successfully install Dolby Atmos on your device by following this guide. Apart from the installation instructions, you can also learn more about Dolby Atmos in general.
You will also come across the various features and options offered by the Dolby Atmos app to its users. However, if you face any issues or problems regarding these Dolby Atmos installation methods or have any suggestions regarding Dolby Atmos, make sure to leave your thoughts in the comments section down below.